


Winter Pest Control Myths That Could Be Costing You Money

Updated for 2026

Cold weather doesn’t reliably keep pests out. Many household pests move indoors for steady warmth, food and shelter. Prioritize exclusion, sanitation and monitoring before resorting to pesticides.

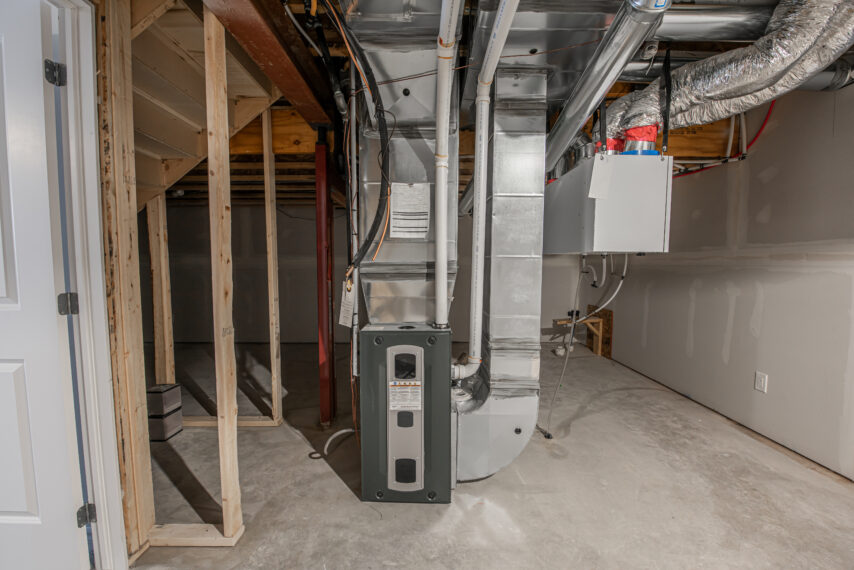
HVAC system inside a utility closet room of house basement with

You pull away a baseboard in January and find fresh chew marks. Or you lie awake and hear a faint scurry above the ceiling while the thermometer outside says 22°F. It always surprises homeowners until it doesn’t. There’s a persistent belief that cold weather eliminates household pests a public perception of wildlife documented in the literature. In my experience, visible inactivity outside rarely means “no problem” inside.

Buildings give animals what the outdoors doesn’t in winter: steady warmth, a dry place to nest and reliable food from pantries, pet bowls and trash. Rats, mice, cockroaches and stored-product pests drop off outdoor counts, then simply move into attics, wall voids and basements where activity continues out of sight. University extension programs, the EPA and the National Pest Management Association back that up: winter sightings outdoors fall, indoor activity often does not.

This piece walks through common winter pest myths, explains the biology that makes them misleading, and gives clear, measurable steps based on Integrated Pest Management: exclusion, sanitation and monitoring before the chemistry. Expect practical, field-tested guidance and things you can do on a weekend and signs that mean you need a pro, including active pest control steps.

Myth Cold Weather Kills Pests So You Don’t Need To Worry

A chilly night does not guarantee an empty house. Many household pests seek the steady warmth, humidity and food buildings provide. Indoors, with thermostats commonly between 60 and 75°F, cockroaches prefer the warmer end (70–80°F) while rodents tolerate the lower end. Stable, predictable conditions let small populations persist and reproduce slowly over winter.

Buildings also supply dry nesting materials like insulation, cardboard boxes, attic dust and steady food from crumbs, pet food and improperly stored dry goods. Relying on visible sightings delays detection. A few survivors can establish nests in insulation or wall voids before you ever notice droppings or odors. I’ve seen houses where mice nested in attic insulation and gnawed HVAC ducts; repair and insulation replacement in those cases commonly ran $1,200 to $2,000, and the mess increases both health and fire risks.

Start prevention with regular, measurable steps. Inspect attics, basements and crawlspaces monthly with a flashlight and gloves. Look for droppings, grease marks, gnawing and a musty or musky odor; record what you find, where and when. For pencil-sized holes, stuff steel wool or copper mesh and seal with exterior-grade caulk as a temporary fix, then replace with a durable repair when you can. Place glue boards or snap traps along baseboards where droppings or grease marks appear and keep a capture log to monitor trends. Exclusion plus sanitation plus monitoring — that’s the core IPM approach.

Myth Rodents Hibernate You’ll Have Fewer Problems In Winter

They do not hibernate in your walls. Norway rats and house mice stay active year-round when they have warmth and food. Outdoor sightings drop because animals move into the insulated envelope of your home, giving the illusion the population has fallen. That relocation is exactly why winter inspections matter.

Mice can breed indoors any month. Females will produce multiple litters of roughly five to ten pups when conditions are right, so a small winter population can multiply quickly. A half-inch gap around a vent — a gap you might hardly notice — can be widened by gnawing and lead to electrical or HVAC damage. I’ve seen a delayed seal turn into chewed wiring and costly HVAC shorts.

Use simple, measurable exclusion tests. Walk the exterior with a pencil: if a standard pencil (about one quarter inch) fits through a gap, seal it. Stuff copper mesh or steel wool into openings and caulk; use 1/4-inch hardware cloth or welded wire for larger penetrations and vents. In garages and basements set three to five snap traps perpendicular to walls and keep a 30-day catch log to determine if breeding is happening and whether you need professional exclusion work.

Myth A One-Time Spray Or Fogger Solves Winter Infestations

Pesticides are a tool not the whole strategy. Surface sprays and total release foggers don’t reach into voids, under appliances or into insulation where pests hide and breed. You might see a short-term drop in visible insects while the underlying population persists.

If entry points, food sources and harborages remain unaddressed, you’ll pay for repeat treatments and increase risk to household members. Extension programs routinely advise against relying on foggers for kitchen infestations; they’re blunt instruments with limited reach.

Start with sanitation and exclusion. Transfer dry goods to rigid plastic containers with tight lids, clean behind and under appliances monthly, and use tamper-resistant bait stations along runways near walls rather than scattering product. Reserve crack-and-crevice or attic treatments for trained technicians who can reach harborages with minimal product. Read and follow labels, document costs and expected outcomes, and consider a licensed pro for severe winter infestations with concealed nests — this approach cuts repeat treatments and saves money long term.

Myth Tiny Gaps Don’t Matter Pests Can’t Fit Through Those Holes

Small gaps are a common and expensive mistake. Mice squeeze through about a quarter-inch opening (roughly a pencil’s diameter) while rats need about a half inch. Cockroaches and ants slip through gaps around plumbing, dryer vents and worn door sweeps. A tiny crack can be a constant invitation.

Inspect likely weak points: where utilities, doors and vents penetrate the building envelope, the attic sill plates and eaves, dryer and exhaust vents, hose bibs and foundation penetrations. Carry a pencil on the walkaround and note any gap the pencil slips through for immediate sealing.

Choose the right materials. For pencil-sized holes, stuff copper mesh or steel wool, then seal with exterior silicone. For foundation vents, install 1/4-inch hardware cloth. Fit door sweeps so they leave about 1/8- to 1/4-inch clearance — enough to avoid trapping the door but tight enough to block pests. Expandable foam fills irregular voids but is chewable; pair it with metal barriers where rodents are a concern. After sealing, monitor the area for 30–60 days and document results with photos and notes for your records.

Myth Winter Is The Worst Time To Hire Pest Control Wait Until Spring

Waiting until spring can cost you. Early winter detection often prevents population growth and structural damage. Signs in attics and crawlspaces — fresh droppings, gnaw marks — stand out against a dormant landscape and reveal entry points that summer foliage or clutter can hide. The NPMA recommends year-round monitoring and seasonal IPM adjustments for that reason.

A winter inspection can be very cost-effective. Diagnostic visits commonly run $75 to $200; targeted rodent exclusion jobs often fall between $150 and $600 depending on complexity. By contrast, remediation for major damage (insulation replacement, duct repair, electrical fixes) can run into the hundreds or thousands. I’ve seen a $150 winter exclusion prevent an insulation contamination job that would have cost more than $1,500 in spring.

When you schedule winter services ask about winter-specific protocols and insist on a written IPM plan that prioritizes exclusion and monitoring over blanket spraying. Request inspection photos of attics and ducts, keep service records and signed scopes of work, and compare itemized costs and outcomes year to year to help prioritize repairs.

Myth DIY Saves Money Professional Services Are Unnecessary And Expensive

DIY reduces risk when it focuses on sanitation and basic exclusion. Homeowners I work with see measurable reductions by storing food in airtight containers, sealing pencil-sized gaps and setting three to five monitoring traps in basements or garages. Those are cost-effective first steps.

But some work is beyond the typical DIY scope. Large structural exclusions, attic remediation after a heavy infestation, and complex electrical or insulation repairs require professional tools, materials and safety procedures. Mistakes carry hidden costs. Improper pesticide use or bait placement risks children and pets and undermines control. Unsafe rodent cleanup creates health hazards; the CDC and EPA spell out specific disinfection steps because sweeping dry droppings can aerosolize contaminated material.

Use these thresholds to decide when to call a pro: signs in multiple rooms; more than six rodent droppings concentrated in an area over a week; nesting in insulated spaces; or visible structural or electrical damage. When you call, request an itemized quote for inspection, exclusion and follow-up, and ask about IPM practices rather than quick spray-and-go services. A partnership — your basic maintenance plus professional capability — is the most cost-effective path.

Safety Note For Rodent Droppings Cleanup

Follow CDC and EPA procedures: wear disposable gloves and an N95 respirator, avoid sweeping or vacuuming dry droppings, spray with disinfectant and then wipe up, and place waste in sealed plastic bags. Call a professional remediation team for large infestations or if you suspect disease exposure. If you’re unsure whether contamination is localized or widespread, photograph the area and include those images when you contact a pro for an informed appraisal.

Pests moving indoors for winter?

Connect with a local exterminator and protect your home fast.

(866) 470-1609

Available Next Day

No Obligation Assessment

Guaranteed Results